
Home mechanic (basic tools) · Time: 30 to 60 min (estimate) (estimate)
This page covers chain-driven bikes with a drum or disc rear brake. The refit must get four things right: spacers, chain slack, wheel alignment and the brake (including the torque arm on a drum brake).
Scooters with a CVT usually need the exhaust and sometimes the silencer bracket removed, and the wheel comes off a gearbox shaft: use your scooter's manual. On an electric bike with a hub motor the wheel carries the motor and its cables: do not attempt it without making the bike safe and the maker's procedure.
Safety
- Bike on the centre stand on firm level ground, rear wheel clear of the ground. A rear wheel is heavy: support it as the axle comes out.
- Keep fingers away from the chain and sprocket.
- Disc brake: do not press the pedal with the disc out of the caliper.
- Drum brake: the torque arm stops the brake plate turning. If it is left loose, the brake can lock the wheel. Always refit it with a new split pin.
You need
- Spanners, torque wrench, pliers, soft-faced mallet, new split pins.
- Your bike's rear axle torque. The K-Light 125 manual gives two different values (100 to 113 N·m on PDF pp. 49 and 109, 85 to 98 N·m on PDF p. 106). Get the confirmed value from the dealer or maker before you start. Do not average them.
Steps: remove
- Photograph both sides: spacers, adjuster marks, brake rod or caliper bracket, torque arm.
- Count the turns or note the marks on both chain adjusters.
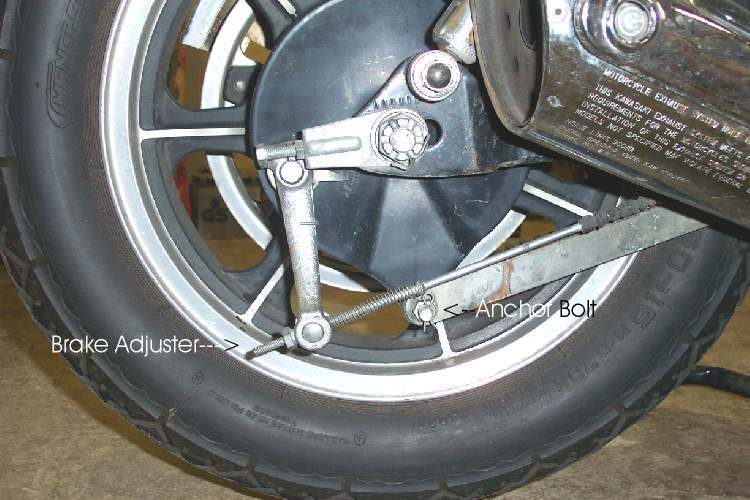
- Drum brake: remove the adjuster nut from the brake rod and pull the rod out of the brake arm. Remove the torque arm nut (split pin first).
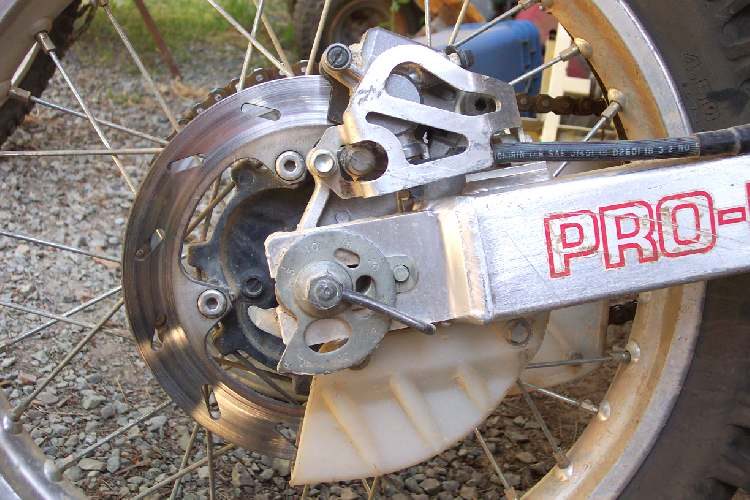
- Disc brake: remove the caliper or let its bracket slide off as the axle comes out (K-Light: remove the rear caliper first).
- Loosen the axle nut and the chain adjusters. Remove the nut.
- Pull the axle out while you hold the wheel. Collect spacers in order. If the axle is stuck, do not hammer a bare thread: see Drive a stuck axle out with a nut and a brass rod.
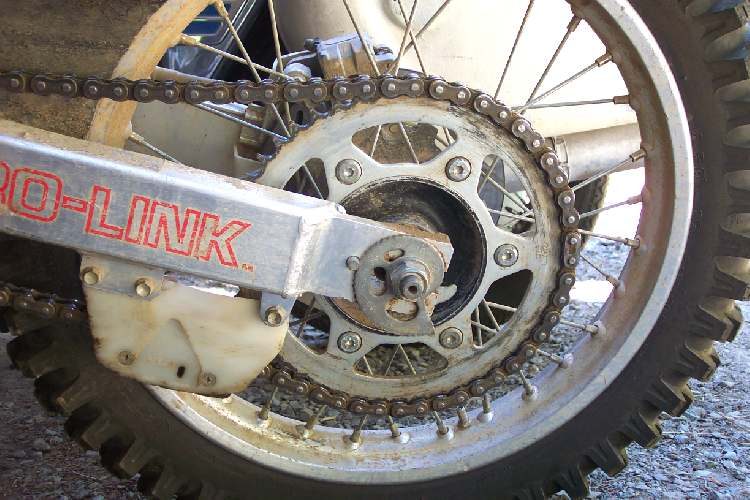
- Push the wheel forward, lift the chain off the sprocket, and roll the wheel out. Check the cush drive rubbers in the hub while it is out (Check the cush drive rubbers).
Steps: refit
- Grease the axle lightly. Fit the spacers as in your photos.
- Roll the wheel in, put the chain on the sprocket, lift the wheel into place, slide the axle through and fit the nut loosely.
- Reconnect the brake: caliper or bracket on its stop, or brake plate on the torque arm with nut and new split pin, brake rod into the arm.
- Set the chain adjusters to the same mark on both sides, then set slack (Check and adjust chain slack; K-Light 125: 20 to 40 mm, bike upright).
- Tighten the axle nut to the confirmed value. Fit a new split pin. Tighten adjuster locknuts.
- Adjust the rear brake: drum or pedal. Press the pedal several times until firm.
- Spin the wheel: free, true, no rubbing. Check the brake light comes on with the pedal.
Check your work
- Chain slack correct and same adjuster marks both sides.
- Torque arm and split pins fitted. Rear brake stops the wheel.
If it did not fix the problem
- Wheel drags: Brake drags or chain too tight.
- Clunk when opening the throttle: Cush drive clunk.
- Bike pulls or chain wears one side: adjuster marks unequal, see Bike pulls to one side.
Reference values (K-Light 125)
| Item | Value | Source |
|---|---|---|
| Chain slack, upright | 20 to 40 mm | K-Light 125 manual, PDF p. 61 |
| Rear axle nut | Not published: manual conflict (100 to 113 N·m vs 85 to 98 N·m) | K-Light 125 manual, PDF pp. 49, 106 |