
Home mechanic (basic tools) · Time: 30 to 60 min per circuit (editorial estimate) (estimate)
Bleeding pushes air bubbles out of the brake pipes through a small valve on the caliper (the bleed nipple). Air squashes, fluid does not, so air makes the lever soft. Replacing the fluid uses the same method and removes old fluid that has taken in water. Bleed whenever a hose, banjo bolt or bleed nipple has been opened, and when the fluid is dark.
Safety
- This procedure is for a simple brake: one lever or pedal, one master cylinder, one caliper. It is not a combined braking (CBS) or ABS bleed. On those systems the order and the bleed points matter and an ABS unit may need a diagnostic tool. Stop here and go to Check a combined braking system (CBS) or Diagnose an ABS warning light.
- Brake fluid strips paint and hurts eyes and skin. Cover the tank and bodywork, wear gloves and glasses.
- Work under cover. The K-Light 125 manual says do not bleed in rain or wind, because water and dust get in.
- Never reuse fluid that has come out of the system.
- Do not ride until the lever or pedal is firm and you have tested the brake at walking speed.
You need
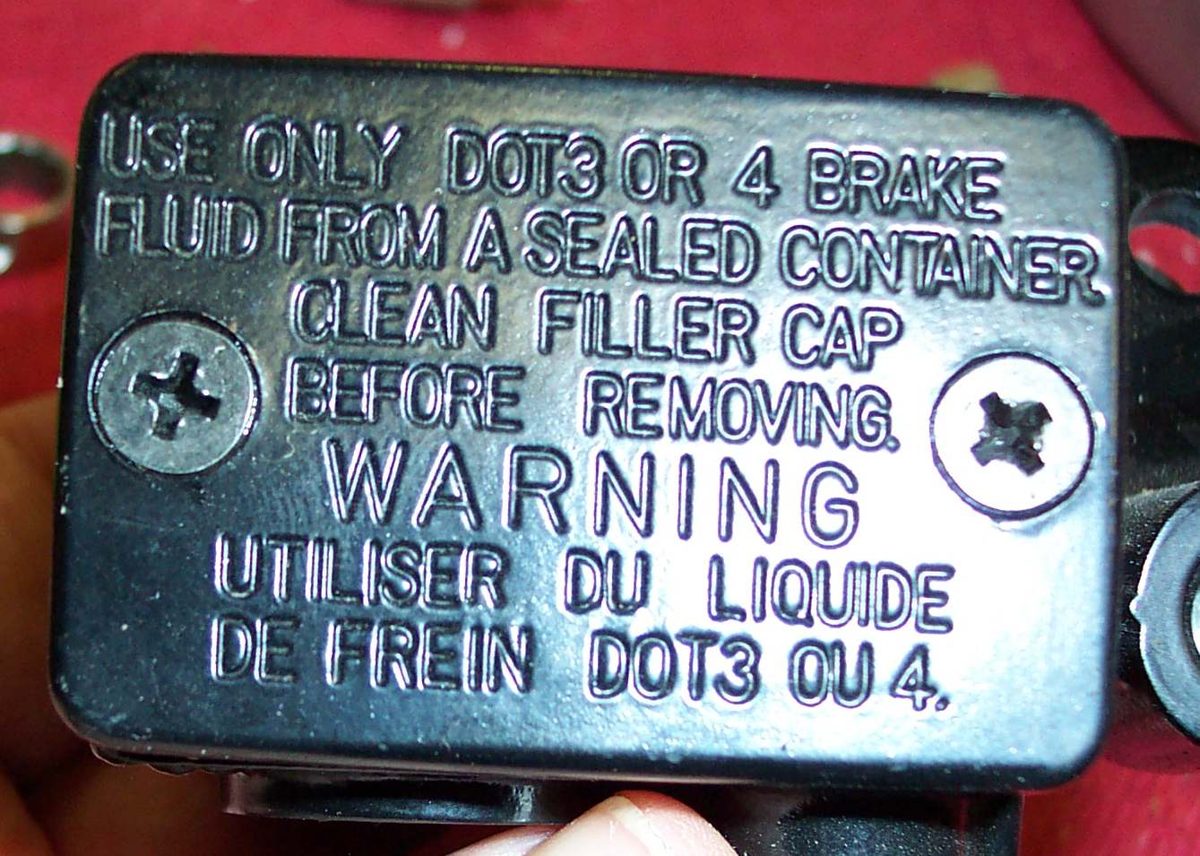
- New fluid from a sealed bottle, the type printed on the reservoir cap (K-Light 125: DOT4). Do not mix types or brands.
- A tube long enough to loop up from the nipple and down into the bottle, so you can see bubbles.
- The bleed nipple torque from your manual (no value is given here). Do not over-tighten: nipples snap.
Steps
- Put the bike upright and turn the bars so the reservoir is level. Cover paint.
- Clean round the cap, remove the cap, plate and diaphragm. Wipe the diaphragm clean; do not wash it in solvent.
- Fit the ring spanner on the nipple, then push the tube on. Put the other end in the bottle with a little fluid in it.
- To change old fluid: remove most of the old fluid from the reservoir with a clean syringe and refill with new.
- Squeeze the lever (or press the pedal) and hold it.
- While holding, open the nipple a quarter to half a turn. Fluid and bubbles flow into the tube and the lever moves towards the bar.
- Close the nipple before you release the lever.
- Release the lever slowly. Wait a few seconds.
- Repeat steps 5 to 8. Watch the reservoir all the time: keep it at least one third full (K-Light 125 manual). If it runs dry, air goes in and you must start again.
- Continue until clear new fluid with no bubbles comes out.
- Tighten the nipple to the manual torque, fit the dust cap, top up to the UPPER mark, refit the diaphragm and cap.
- Wash any spilt fluid off with water at once.
Check your work
- The lever or pedal is firm and does not sink when held for 30 seconds.
- No fluid weeps from the nipple, banjo bolts or cap.
- Test at walking speed in a safe place before riding in traffic.
If it did not fix the problem
- Still spongy after a careful bleed: air may be trapped at the master cylinder or banjo, or a seal is letting air in. See Brake lever or pedal feels spongy and Check the brake master cylinder.
- Lever slowly sinks: Brake lever slowly sinks when held.
- New fluid goes dark again quickly: a seal is breaking up; go to Rebuild a brake caliper.
Reference values (K-Light 125)
| Item | Value | Source |
|---|---|---|
| Fluid grade | DOT4 | K-Light 125 manual, PDF p. 65 |
| Minimum reservoir level while bleeding | One third full | K-Light 125 manual, PDF p. 124 to 127 |