
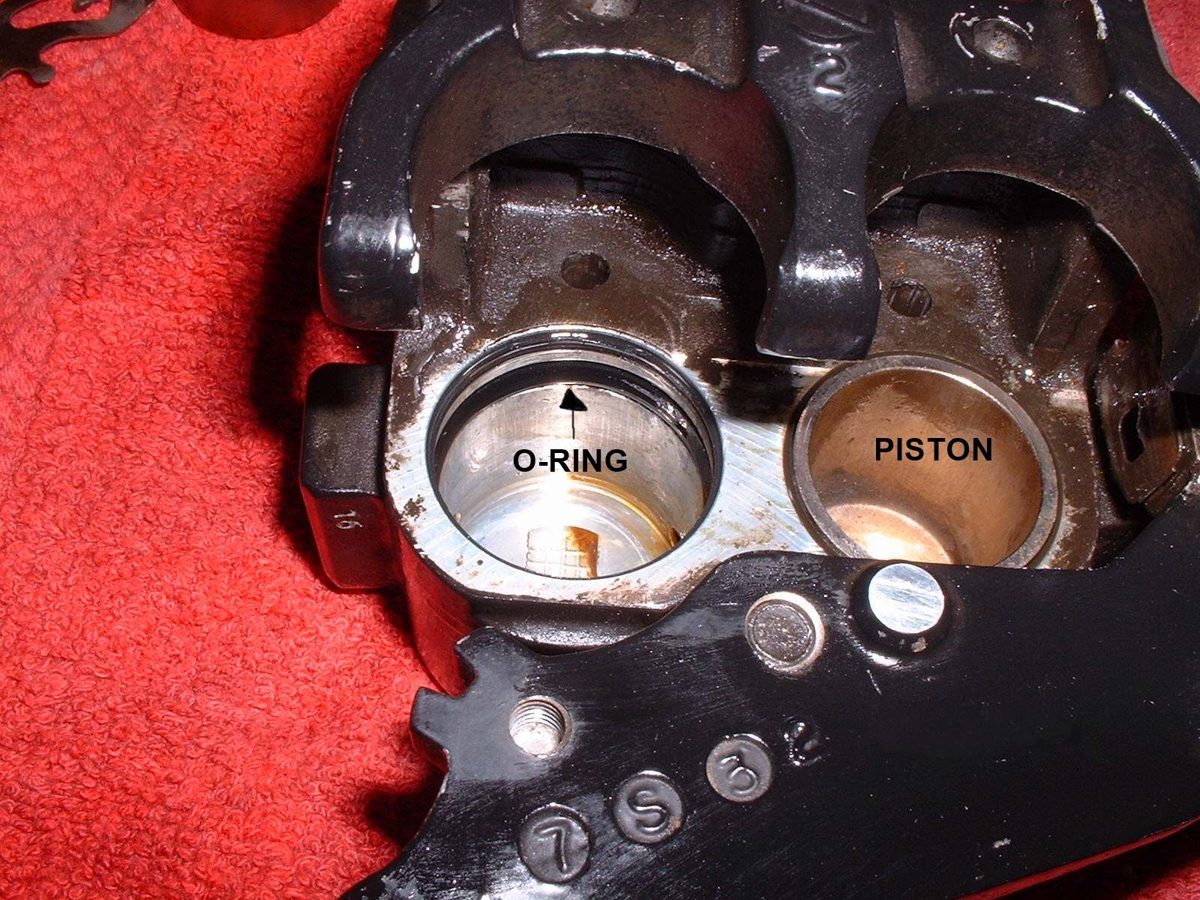
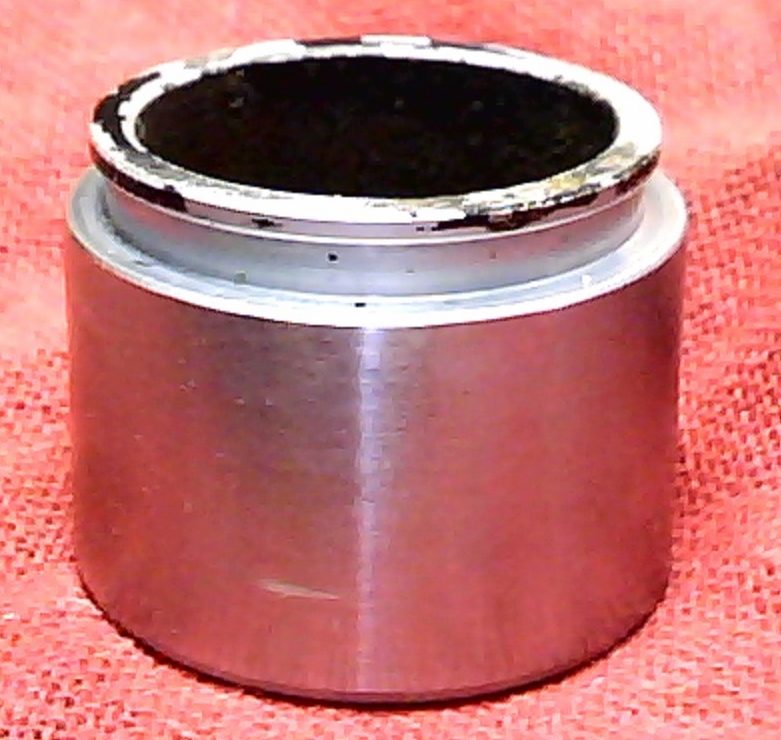
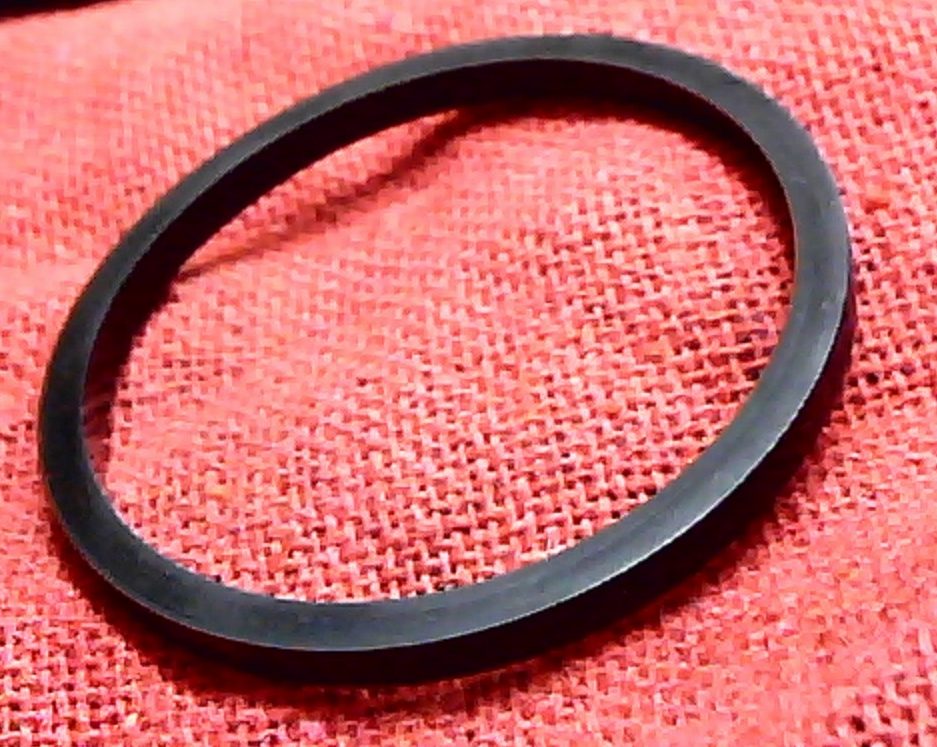
A caliper rebuild means taking the pistons out, fitting new piston seals and dust seals, and replacing pistons or the whole caliper if they are damaged. It is a workshop job: getting the pistons out uses compressed air or hydraulic pressure, and a wrongly fitted seal causes brake failure. This page tells you how to judge whether a rebuild is needed and what to ask for.
Safety
- Do not ride if fluid is leaking from a caliper, a piston is seized, or the pads are wet with fluid.
- Do not try to blow pistons out at home. The K-Light 125 manual uses compressed air with a thick wooden block and rubber pad in the caliper, and warns about fingers: a piston comes out with great force.
- Do not split a two-piece caliper. The joint bolts and their seal are set at the factory (K-Light 125 rear caliper joint bolt is listed at 30 N·m, but this is workshop work).
What you can check safely
- Look at the caliper with a torch: wet fluid round a piston or dust boot, or a fluid trail down the fork leg or swingarm, means a seal leak.
- Look at the pads: fluid-soaked pads must be replaced after the repair.
- Check whether the pistons move, as in Clean a brake caliper and free the pistons. A piston that will not move after cleaning, or that is pitted or corroded where it enters the seal, needs a rebuild or new caliper.
- Note whether the bike has CBS or ABS. The workshop needs to bleed those systems in their own order.
What the workshop will do
- Remove the caliper and the banjo bolt, keeping the hose end high so fluid does not run out. New sealing washers are fitted on both sides of the banjo bolt.
- Remove the pads, spring plate and bracket, then the pistons.
- Remove and replace the piston seals and dust seals. Clean the bores with brake fluid or alcohol only.
- Inspect pistons and bores. Scored or pitted parts are replaced, or the whole caliper is replaced if parts are not sold.
- Clean and grease slide pins and replace their boots.
- Refit with new pads if the old ones were contaminated, tighten the banjo bolt to the model value (K-Light 125: 30 N·m) and the caliper bolts to the confirmed model torque, then bleed the system.
What to ask for
- New seal kit for your caliper (by make, model, year and front or rear), or a new or exchange caliper.
- New sealing washers for every banjo bolt that is opened.
- A full bleed with fresh fluid of the type on the cap, and a CBS or ABS bleed by the maker's routine where fitted.
- To see the old pistons and seals.
Check your work
- Lever or pedal firm, no sinking when held.
- No wetness at the caliper after a short ride and a few hard stops.
- Wheel spins freely when the brake is released.
If it did not fix the problem
- Lever still soft: Brake lever or pedal feels spongy.
- Lever sinks with no external leak: Check the brake master cylinder.
Reference values (K-Light 125)
| Item | Value | Source |
|---|---|---|
| Brake hose banjo bolt | 30 N·m | K-Light 125 manual, PDF p. 64, 109, 115 |
| Rear caliper joint bolt (workshop only) | 30 N·m | K-Light 125 manual, PDF p. 121 |