
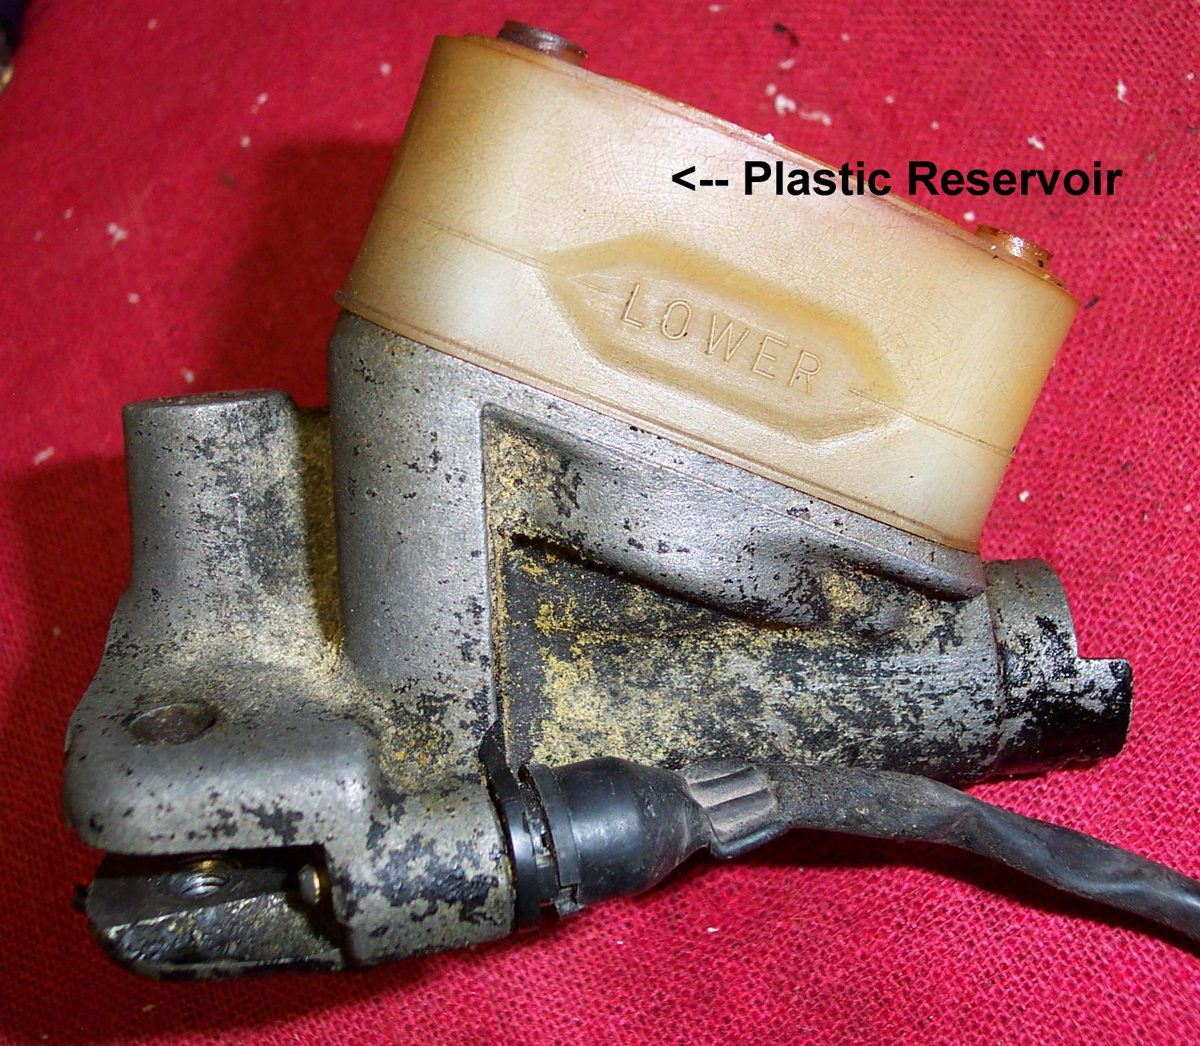
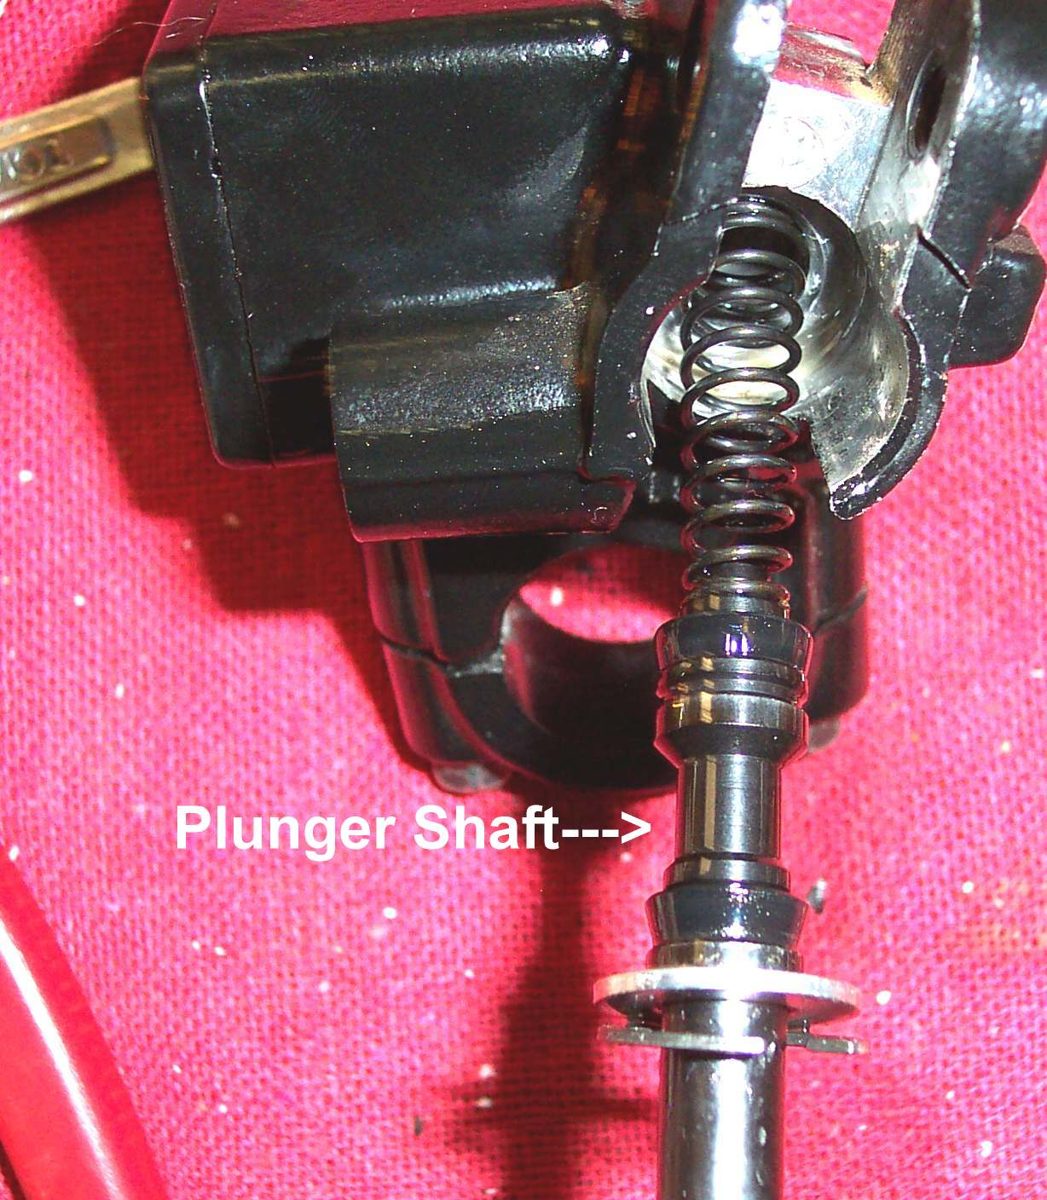
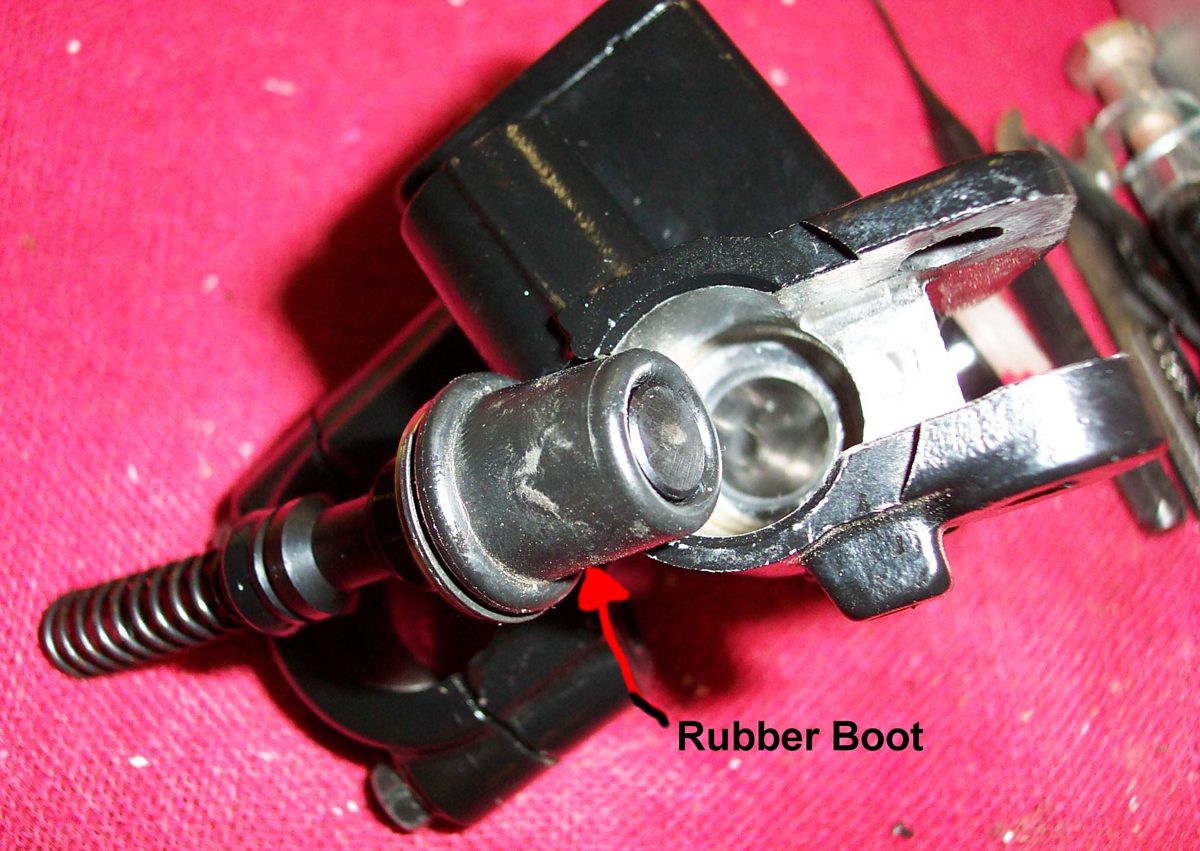
The master cylinder is the pump under the brake lever (front) or behind the brake pedal (rear). When you squeeze the lever, a piston with rubber cups pushes fluid down the hose. If a cup is worn, fluid slips past it and the lever sinks slowly to the bar even though nothing leaks outside. If the piston does not return, the brake drags. Rebuilding a master cylinder is workshop work; this page helps you spot the fault and ask for the right repair.
Safety
- Do not ride if the lever or pedal sinks while held, reaches the bar or footpeg, or the brake does not release.
- Brake fluid harms paint and eyes.
What you can check safely
- Look under the lever and round the rubber boot where the lever pushes the piston. Wet fluid here means the rear cup is leaking.
- Check the reservoir level and colour with Check brake fluid level and condition. Black bits or sludge in the fluid point to worn cups.
- With the bike still, squeeze the lever firmly and hold it for 30 seconds. If it creeps slowly toward the bar with no leak at the hoses or caliper, the master cylinder cups are the most likely cause.
- Release the lever. Spin the wheel: if it drags until you open the bleed nipple briefly, the piston is not returning (or the return port is blocked).
- Check that the lever has some free play before the piston moves, and that the lever pivot is not seized. A lever that never returns fully can hold the piston on. See Service brake and clutch lever pivots.
- Rear master cylinder: check the pushrod is not holding the piston in. The K-Light 125 manual asks for a small gap of 0 to 0.2 mm between the pushrod and the piston, with no pressure on the piston. Set it with Adjust the rear brake pedal.
What the workshop will do
- Drain the reservoir, remove the master cylinder, lever, dust boot, circlip and piston assembly.
- Clean with brake fluid or alcohol only, inspect the bore for scores and the piston for wear, and fit a new piston and cup kit with the cups facing the right way.
- Grease the lever pivot with silicone grease, refit, tighten to the model torques (the K-Light 125 manual gives lever pivot bolt and locknut values on PDF p. 117), refill and bleed.
- Replace the whole master cylinder if the bore is scored.
What to ask for
- A master cylinder rebuild kit or a new master cylinder for your exact model, front or rear.
- On CBS or ABS bikes, a bleed using the maker's routine.
- A check of the brake light switch afterwards, as it is often fitted to the master cylinder (Test and adjust the brake light switches).
Check your work
- Lever firm, does not sink when held, returns quickly.
- No fluid at the boot.
If it did not fix the problem
- Lever still soft: Brake lever or pedal feels spongy.
- Brake still drags: Check for brake drag.
Reference values (K-Light 125)
| Item | Value | Source |
|---|---|---|
| Rear pushrod to master piston clearance | 0 to 0.2 mm, no preload | K-Light 125 manual, PDF p. 116 |
| Front master cylinder bore | 12.7 mm | K-Light 125 manual, PDF p. 107 |