
Home mechanic (basic tools) · Time: 20 to 40 min (estimate) (estimate)
You remove the front wheel to repair a puncture, change a tyre, check bearings or service the brake. The job is simple, but the refit matters: spacers in the wrong place, a loose axle or a brake that is not pumped up can cause a crash.
Safety
- Lift the front wheel only when the bike is stable. On a centre stand, put weight on the rear (a heavy bag on the seat, or a block under the engine) so the front lifts without the bike tipping. Never support it under the exhaust or a plastic panel.
- On disc brakes: do not pull the brake lever while the disc is out of the caliper. The pads close and the disc will not go back in.
- Do not let a caliper hang on its hose. Tie it to the fork.
- Brake dust: do not blow it with air or breathe it.
You need
- Correct spanners for the axle nut and any pinch bolts, a torque wrench, pliers, a soft-faced mallet.
- A new split pin if the axle nut uses one.
- Your bike's axle nut torque. K-Light 125: front axle nut 75 to 88 N·m.
Steps: remove
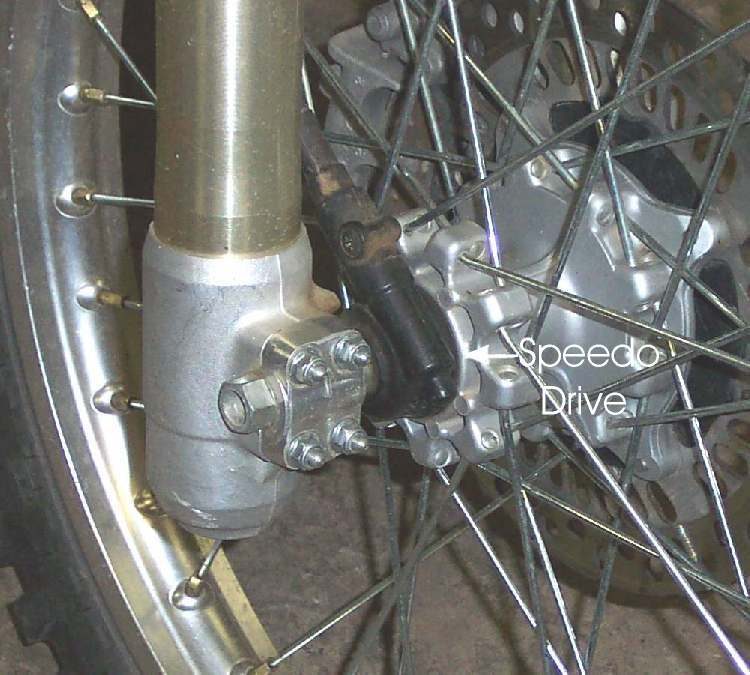
- Take photos of both sides of the hub: spacers, speedo drive, sensor, brake arm or caliper.
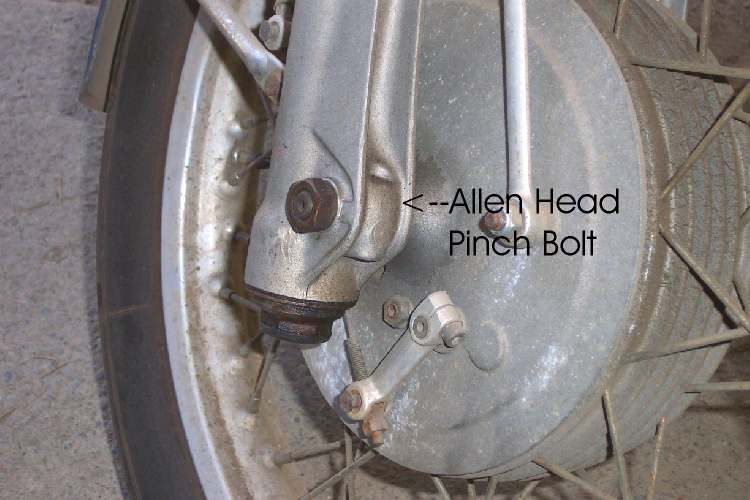
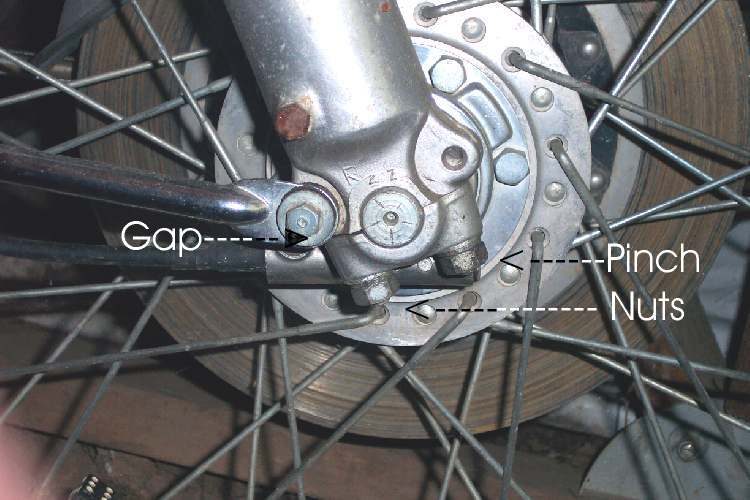
- With the wheel still on the ground, remove the split pin and loosen the axle nut (and pinch bolts on the fork leg, if fitted).
- Lift the front wheel off the ground as above.
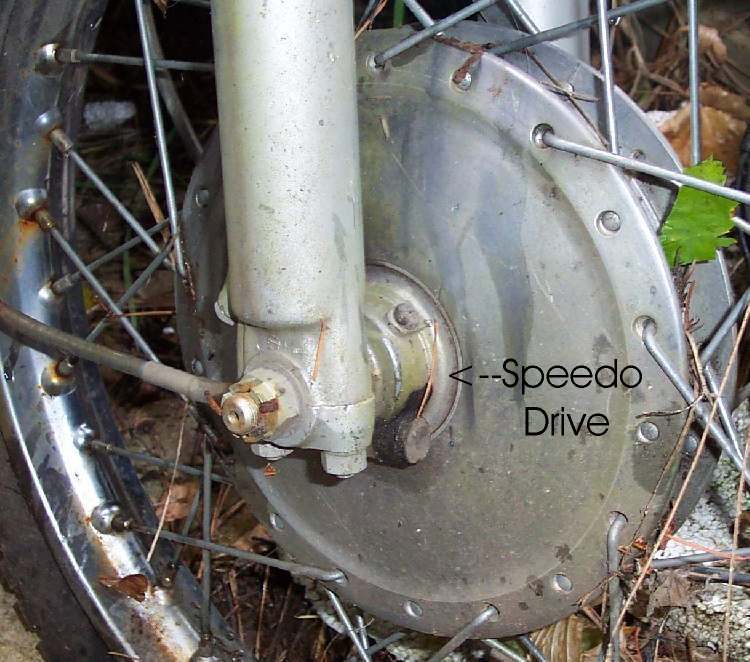
- Mechanical speedo: unscrew the cable at the hub. Electronic sensor or ABS sensor: unbolt it or move it clear, so the wire is not pulled.
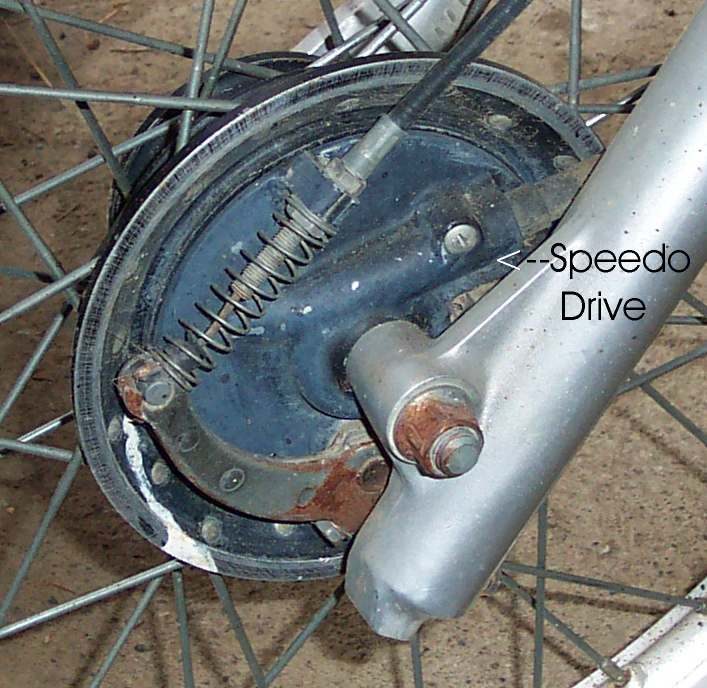
- Drum brake: undo the cable adjuster nut at the brake arm and free the cable.
- Disc brake: on many bikes the disc slides out of the caliper as the wheel drops. If not, remove the two caliper bolts and tie the caliper up.
- Remove the nut, support the wheel, and pull the axle out. A stuck axle can be tapped out with a soft-faced mallet, never a steel hammer on the thread.
- Lower the wheel out. Collect spacers and keep them in order.
Steps: refit
- Clean the axle, check it is straight (roll it on a flat surface as a rough check; K-Light 125 bend limit 0.2 mm, measured on V-blocks). Wipe a thin film of grease on it.
- Fit spacers and speedo drive as in your photos. The speedo drive tangs must sit in the slots in the hub, or the drive is crushed when tightened.
- Lift the wheel into place, guiding the disc into the caliper or the drum stop into its slot on the fork.
- Push the axle through, fit the nut, then tighten to the bike's value, then pinch bolts if fitted. Fit a new split pin and bend it over.
- Refit the caliper bolts, the drum cable, the speedo cable or sensor.
- Pump the brake lever until it is firm. Adjust a drum brake (Adjust a drum brake).
- Spin the wheel: it should turn freely, run true and the speedo should move.
Check your work
- Brake lever firm before the bike moves. Front brake stops the wheel.
- Turn the bars lock to lock: no cable or hose pulled tight.
- Bounce the front: no knock from the axle area.
If it did not fix the problem
- Wheel drags: Brake drags and the wheel does not spin freely, or a spacer is missing.
- Wheel has side play: Check wheel bearings.
Reference values (K-Light 125)
| Item | Value | Source |
|---|---|---|
| Front axle nut | 75 to 88 N·m | K-Light 125 manual, PDF pp. 49, 135, 140 |
| Front axle bend limit | 0.2 mm | K-Light 125 manual, PDF p. 135 |