
Home mechanic (basic tools) · Time: 10 min to check; 30 to 60 min to replace (estimate) (estimate)
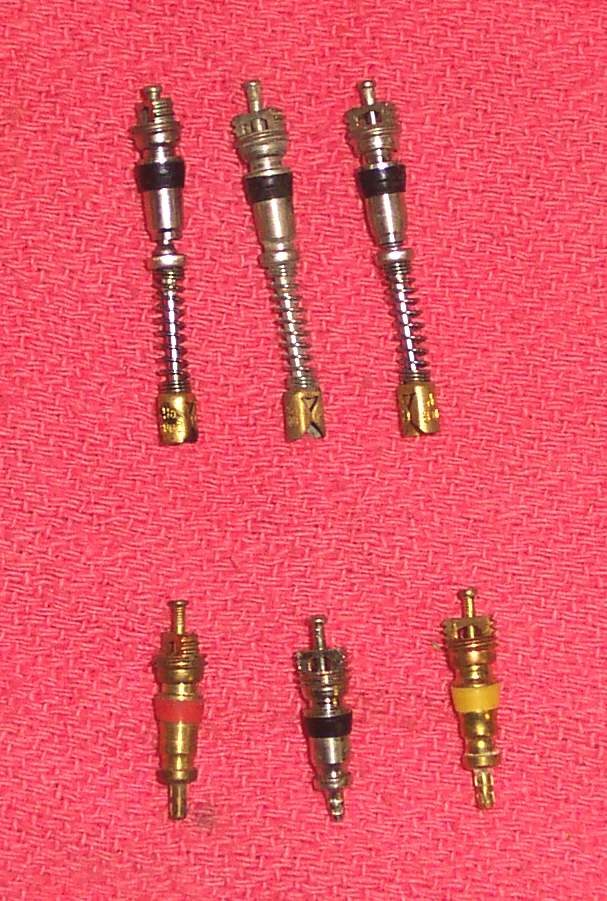
The valve lets air in and keeps it there. Leaks happen at the core (the small spring-loaded insert), at a cracked rubber stem, or where a tube valve joins the tube. A leaking valve is cheap to fix but feels just like a puncture.
Safety
- Let the air out before removing a core: a core can shoot out under pressure.
- Replacing a tubeless valve needs one bead pushed off the rim. Support the bike firmly while the wheel is out.
You need
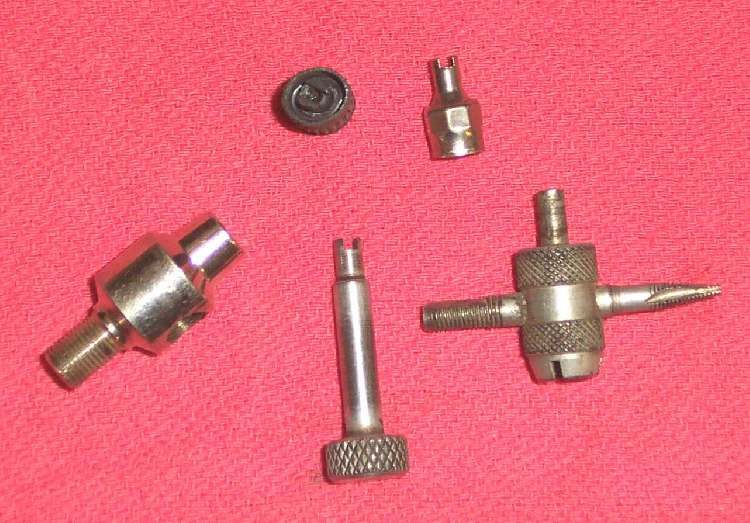
- A valve core tool (some valve caps have one built in), spare cores, caps with seals.
- Soapy water.
- For tubeless snap-in valves: a new valve of the same type and a valve puller. K-Light 125: snap-in tubeless valve Z2-01-1 (PDF p. 130).
- For a tube: tube valves are part of the tube. A damaged tube valve means a new tube.
Steps: check
- Inflate the tyre to the correct pressure (Check tyre pressure).
- Remove the cap. Put soapy water on the valve tip. Bubbles mean the core leaks.
- Put soapy water round the base of the valve where it meets the rim. Bend a rubber valve gently to one side, then the other. Bubbles or cracks mean the stem is perished (weather cracks) or the seal in the rim is poor.
- On a tube tyre, look at the angle of the valve. A valve leaning sideways means the tube has crept round the rim and may tear at the base.
Steps: core leaks
- Tighten the core gently with the core tool. Do not force it.
- Test again. If it still bubbles, let the air out, unscrew the core and fit a new one.
- Inflate, test, fit a cap with a seal.
Steps: rubber tubeless valve cracked or leaking at the base
- Remove the wheel (front, rear). Let all air out.
- Push the bead next to the valve off the rim seat. You only need to reach the inside of the valve. Many riders let a tyre shop do this part.
- Cut or pull out the old valve. Clean the hole in the rim.
- Lubricate the new valve, push it into the hole from inside and pull it through with the puller until the groove seats on both sides of the rim.
- Seat the bead, inflate, test with soapy water, set pressure.
Steps: tube valve torn or leaning
- Replace the tube: follow Repair a puncture in an inner tube, fitting a new tube instead of a patch.
Check your work
- No bubbles at the tip or base. Cap fitted.
- Pressure is the same after a night.
If it did not fix the problem
- Still losing air with a good valve: Tyre slowly loses air or Air leaking where the tyre meets the rim.