
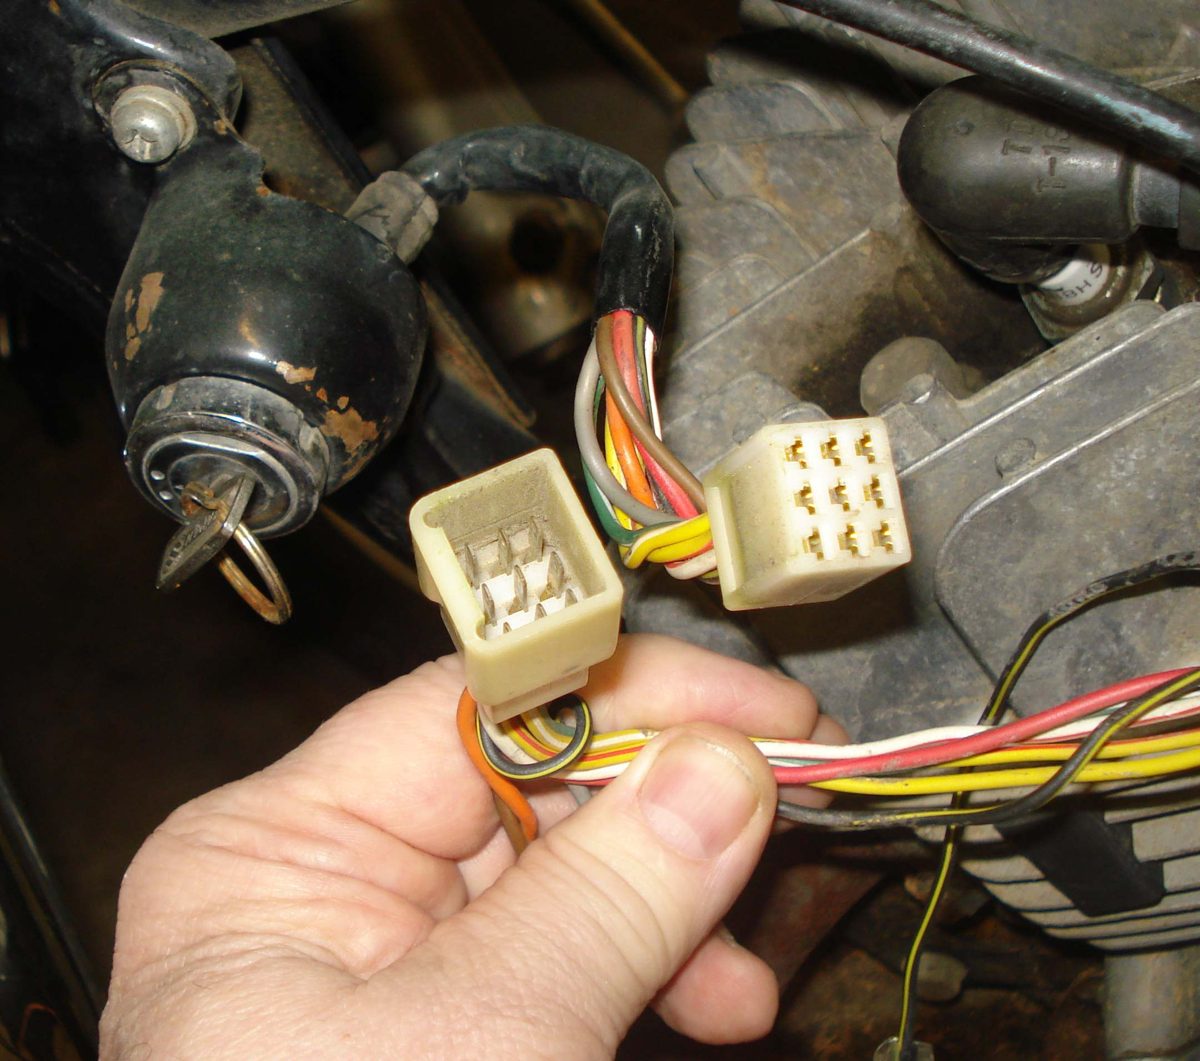
Home mechanic (basic tools) · Time: 15 to 45 min (estimate)
Connectors are the weakest points in a wiring harness. Water gets in, the metal pins turn green or white with corrosion, and the contact becomes poor. Pins can also back out of the housing, so they no longer touch. The K-Light manual says most ignition faults come from poor connectors (PDF p. 84). Clean connectors when faults come and go, appear after rain or washing, or when a connector is green, wet or warm.
Safety
- Turn the key off before unplugging anything. Unplugging ECU or dashboard connectors with the power on can damage them.
- Contact cleaner is flammable. No smoking or sparks; work in fresh air.
- Do not aim a pressure washer at connectors, switches or the ECU. The MAVCC detailing job warns against spraying high-pressure water on parts that should stay dry (PDF p. 737).
You need
- Electrical contact cleaner (it evaporates and leaves no film). Do not use petrol, carburettor cleaner or brake cleaner on plastic connectors: they can crack the housing.
- Dielectric grease. It keeps water out. It does not conduct electricity, so it goes around the pins and on the seals, not as a thick lump between metal faces before they touch.
- If pins are badly corroded or broken: new terminals and seals of the right type for that connector. A workshop or wiring supplier can match them.
Steps
- Find the connector. Use the wiring diagram and follow the wires from the faulty part. Common trouble spots: inside the headlight shell, under the seat, under the tank, near the rear wheel and at the handlebar switches.
- Release the latch. Most plastic connectors have a locking claw. Press or lift the claw, then pull the two halves apart by their bodies, never by the wires (K-Light 125, PDF p. 97).
- Inspect. Use a torch. Look for: - Green or white powder on pins: corrosion. - Water drops inside. - A pin sitting further back than the others: it has backed out and does not touch. - Melted or brown plastic: overheating from a poor contact. - Missing or torn rubber seals.
- Clean. Spray contact cleaner into both halves. Brush pins lightly with a soft brass brush or fibreglass pen. Spray again to wash out the dirt. Let it dry fully.
- Fix loose pins. Push a pin that has backed out forward from the wire side until it clicks into place. If it will not lock, its small locking tab is flattened: lift the tab gently with a pick, or fit a new terminal.
- Check the grip. A female terminal that slides on too easily does not grip. Replace the terminal; do not squeeze it with pliers, as that cracks it.
- Replace burnt connectors. Melted plastic means heat. Cut back to clean wire, fit a new connector and terminals with the correct crimp tool, and find why it got hot: Do a voltage drop test.
- Seal. Put a thin film of dielectric grease on the seals and around the pins. Push the halves together until the latch clicks. Pull gently to check it is locked.
- Route and support. Fix the connector with its clip or a cable tie so it cannot shake or hang in the wheel spray. Face open connector ends downwards where possible so water drains out.
- Test. Use the circuit. Wiggle the connector: nothing should flicker.
Check your work
- Each connector clicks home and stays locked.
- The circuit works during a wiggle test and after riding in rain or a gentle wash.
- No connector is warm after use.
If it did not fix the problem
- Faults continue in the wet: Electrical faults after rain or washing.
- Connectors are fine but faults continue: Find a wiring fault.
- Harness pin-out checks at the ECU need the manufacturer's procedure and tool: Diagnose a suspected CDI or ECU fault.