
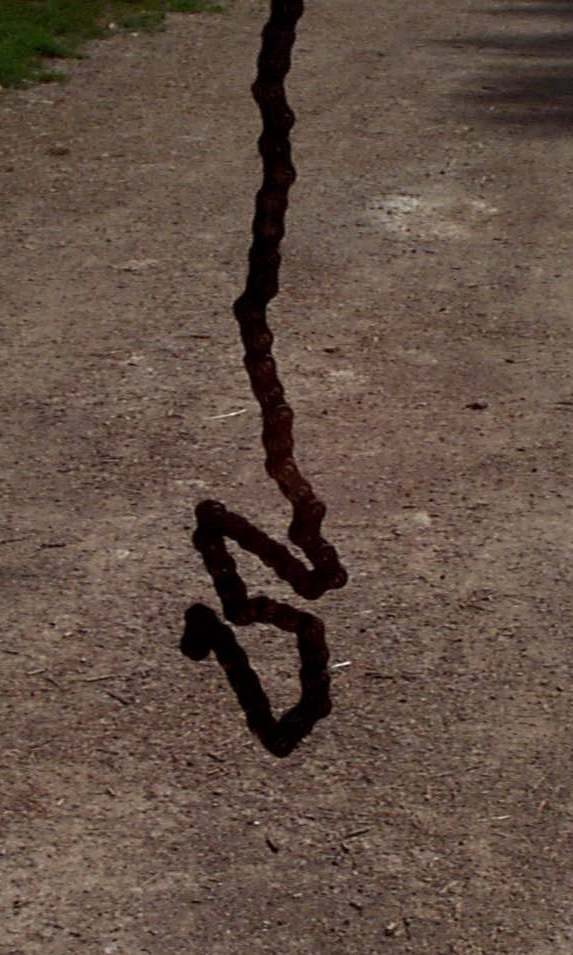
A chain has hundreds of small pins turning inside rollers. Dirt and water wear them, so the chain gets longer, noisier and wears the sprockets. Cleaning and oiling is the cheapest way to make a chain and sprockets last. Do it when the chain looks dry or rusty, after riding in rain, after washing the bike, and at every service. This also applies to electric motorcycles with chain drive.
Safety
- Engine off, key out. Turn the rear wheel by hand only. Never run the engine in gear to turn the chain while you clean or oil it: fingers and cloths get pulled into the sprocket in an instant. On an electric bike, switch off and remove the key so the motor cannot turn.
- Keep lubricant and cleaner off the tyre and the brake disc or drum. Oil on a brake or tyre can cause a crash. Wipe any off at once with a clean cloth.
- Use the centre stand or a paddock stand on firm, level ground.
You need
- Neutral detergent (mild soap) and warm water, a soft brush, clean rags.
- Chain lubricant made for motorcycle chains. If you only have clean engine oil, use a little and wipe off the excess; it flings off faster. Never use dirty used oil: it carries grit that wears the chain.
Steps
- Put the bike on the stand, in neutral, so the rear wheel turns freely by hand.
- Wipe off loose dirt with a rag.
- Wash the chain with neutral detergent and a soft brush, turning the wheel by hand to reach every part. The K-Light manual says never use steam, petrol or solvents on the chain. These damage the rubber O-rings inside sealed chains and wash out the grease. A wire brush or a pressure washer does the same harm.
- Rinse with a little clean water and dry with rags. Let it dry fully.
- As you turn the wheel, look at every link. Note links that stay bent (stiff links), cracked side plates, damaged rollers or missing O-rings.
- Turning the wheel backwards by hand, apply lubricant to the inside of the lower run, aiming at the gaps between the side plates where the rollers are. One slow turn of the chain is enough.
- Leave it for a few minutes to soak in, then wipe off the excess from the outside so it does not collect sand and dust.
Check your work
- The whole chain looks evenly wet, not dripping.
- Every link bends freely as it goes round the rear sprocket.
- No lubricant on the tyre, wheel rim or brake.
If it did not fix the problem
- Some links stay stiff after cleaning and oiling: Chain is dry, rusty or has stiff links.
- Chain still noisy: check the slack, Check and adjust chain slack.
- Rollers or side plates damaged: the chain needs replacing, Check the chain for wear.