
Home mechanic (basic tools) · Time: 30 to 45 min (estimate)
The regulator rectifier is a small finned box, usually under the seat or side panel. It changes the stator's AC output to DC and limits the charging voltage. When it fails, the battery is either not charged or overcharged. This job checks its wiring first, then the unit itself.
Safety
- Key OFF and battery negative (−) disconnected before you unplug the regulator. Never unplug it with the engine running (K-Light 125 manual).
- The regulator can be very hot after a ride. Let it cool.
- A melted or brown connector is a fire risk. Do not ride until it is repaired.
You need
- A multimeter with a diode test or resistance range.
- Your bike's wiring diagram, so you know the wire colours. K-Light 125: 6-pin connector with three white wires from the stator, a red wire to the battery and a black wire to earth (PDF page 74, 79).
Steps
- Find the regulator and unplug its connector. Look at the pins. Brown, green or melted pins mean a poor contact that is heating up. See Regulator is very hot or the connector has melted.
- Check the regulator body: cracked case, burnt smell, missing bolts, fins packed with mud. It must be bolted firmly to clean metal with air around it.
- Harness side checks (K-Light 125 method): - Reconnect the battery. Red wire to earth: you should read battery voltage. No voltage: the red wire, its fuse or the battery cable is open. Disconnect the battery again after this check. - Black wire to earth: you should have continuity (near zero ohms). No continuity: repair the earth wire. - Each white wire to earth: there must be no continuity. Continuity means the stator is shorted to earth: go to Test the stator. - White to white: this is the stator coil resistance. Compare with Test the stator.
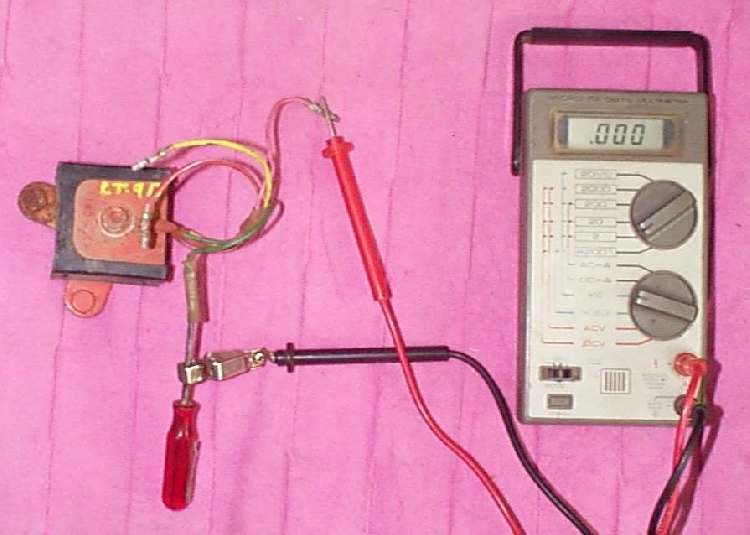
- Diode check on the unit (K-Light 125 method): set the meter to diode test. Put the black probe on the red terminal of the regulator and the red probe on each white terminal in turn: you should get a reading on each. Then put the red probe on the black terminal and the black probe on each white terminal: you should get a reading on each. Reverse the probes: you should get no reading. The manual gives no numbers, and readings differ between meters.
- If any pair reads the same both ways, or reads nothing both ways, the regulator is faulty.
- A regulator can pass the diode check and still regulate badly. The final test is the charging voltage with the engine running: Test the charging system.
- To fit a new regulator, use one made for your bike's system (single-phase or three-phase, same connector). K-Light 125 regulator bolt: 5.0 N·m.
- Clean the connector with contact cleaner, check that the pins grip tightly, and push it fully home.
Check your work
- The charging voltage is in range at the manual's test speed.
- After a ride, the connector is warm at most, not hot.
If it did not fix the problem
- New regulator but still not charging: Test the stator.
- New regulator gets very hot: check the stator and the battery. A shorted battery cell or a weak earth makes the regulator work harder.
Reference values (K-Light 125)
| Item | Value | PDF page |
|---|---|---|
| Regulator bolt | 5.0 N·m | 73 |
| Charging voltage | 14.5 ± 0.5 V at 5000 rpm | 78 |