
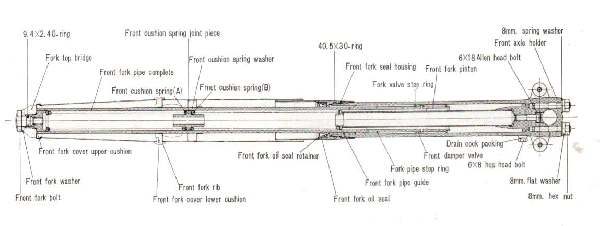
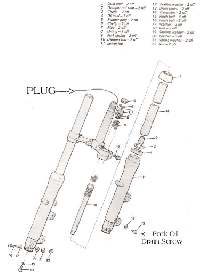
A spacer sits on top of the fork spring, under the cap. It adds a little preload to the spring so the fork rides higher in its stroke and bottoms less. It is a small, cheap change for a spring that has settled with age. It does not replace a spring that is badly worn or broken.
Safety
- Opening the cap means releasing a loaded spring. Read Open a spring-loaded fork cap safely first.
- Do not set so much preload that the spring is stacked solid or the fork cannot move. The fork must still compress and extend freely.
- Use the same spacer length on both legs.
You need
- A pipe or tube that fits easily inside the fork tube and can take the spring load. Hot-water plastic pipe has been used for this. A metal tube is stronger.
- A ruler and a fine file to clean cut ends.
- The spring free length limit from your bike's manual, if given. Compare your measured spring to it before you add a spacer.
Steps
- Open the legs, remove the spring and measure its free length. Compare it with the manual limit. If it is below the limit, replace the spring, not add a spacer.
- Cut the spacer square. Start with a short piece and add length only if needed.
- File the ends flat and remove burrs.
- Fit the spacer on top of the spring, under the cap and any washer the fork already has.
- Refit the caps and set the same oil level on both legs (Set the fork oil level with a simple gauge).
- Test: push down on the bars with the front brake on. Both legs should move together.
Check your work
- The fork does not bottom out on bumps and brake dive is less.
- The ride is not harsh on small bumps.
- Both legs behave the same.
If it did not fix the problem
- Still bottoming out: Front forks bottom out.
- Harsh ride after adding the spacer: remove it or use a shorter one. See Front forks feel harsh over bumps.
- Heavier fork oil also firms the fork, but use only grades the maker allows. Ask a workshop.