
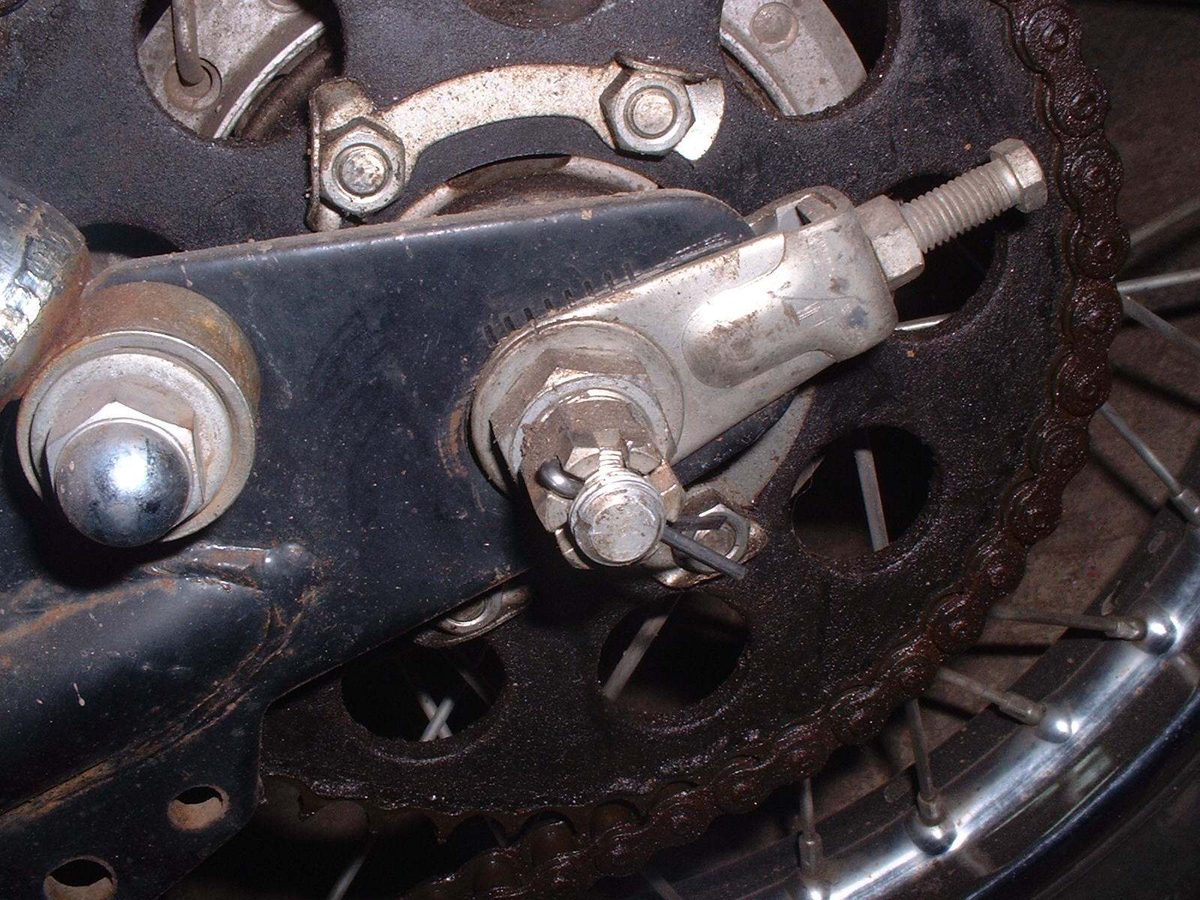
Cotter pins and slip pins stop castle nuts and plain nuts from turning off. This is very important on axles. Fit them correctly and they can be removed again.
Safety
- A missing pin on an axle nut can cause a wheel to come off. Never ride without it.
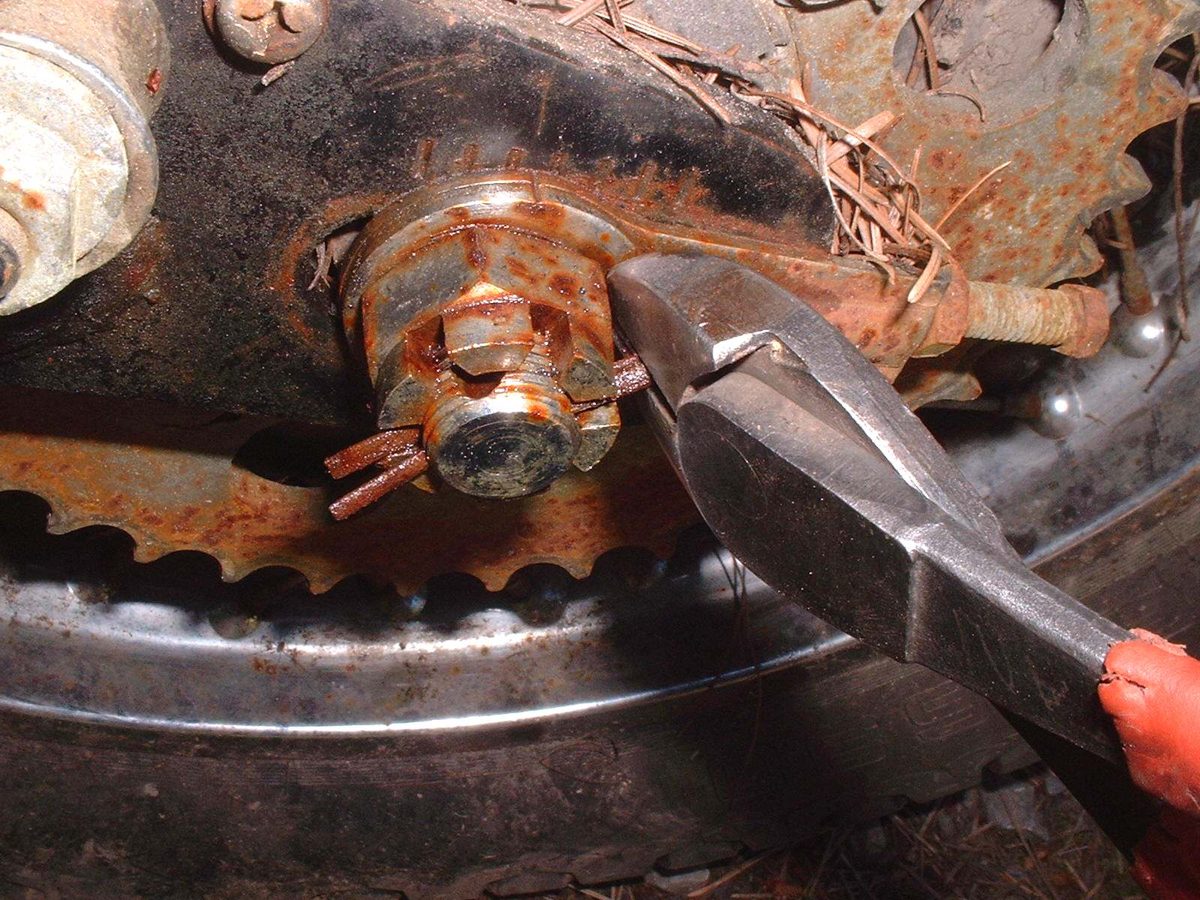
Remove a rusted pin
- Straighten the ends of the pin.
- Use wire cutters to lever the pin out. Do not squeeze too hard or the round end may cut off.
- If the end cuts off, lever the two halves out from the other side.
Fit a pin
- Tighten the castle nut to the torque in your manual.
- If the slots in the nut do not line up with the hole in the shaft, tighten a little more until they do. Never loosen the nut to line them up.
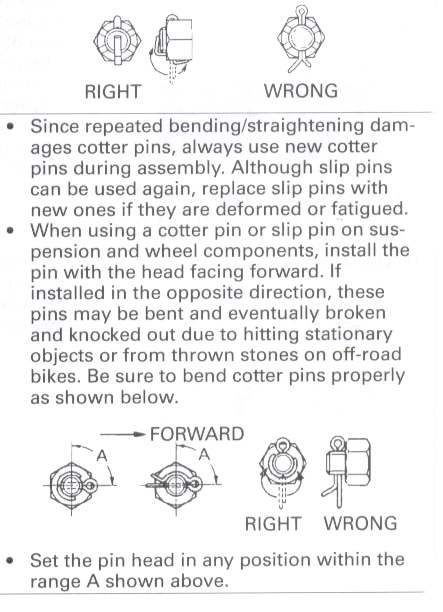
- Fit a new cotter pin when the old one is bent. Bending it again fatigues the metal.
- Fit the pin with the round, closed end towards the front of the bike, the direction of travel.
- Bend one of the two ends at about 45 degrees. Some manuals say to wrap both ends tightly around the nut. A single 45 degree bend holds, and the pin can be removed and reused.
- Check the pin again after the first ride.
Slip pins
- A slip pin holds a nut or clevis. Replace if bent or fatigued. Manuals may show the exact position.
Check your work
- The pin sits through the shaft and nut slot and cannot slide out.
- The nut is at the correct torque.
If it did not fix the problem
- Nuts or bolts loosening: Nuts and bolts keep coming loose.